Capturing the breathtaking beauty of the cosmos requires more than just pointing your camera at the night sky. Astrophotography is a captivating blend of science and art that demands the right equipment, meticulous preparation, and a keen understanding of camera settings and techniques.
Whether you're gazing at the stars from the serene landscapes of Alabama Hills or any other dark-sky location, this guide will provide you with all the insights you need to embark on an unforgettable astrophotography journey.

The milkyway over Bonsai Rock in Lake Tahoe, Nevada. Photo by Dalton Johnson
Essential Equipment
Embarking on an astrophotography adventure begins with the right gear. The following essential equipment forms the foundation of successful astrophotography sessions:
Camera Body: Invest in a camera with manual settings and strong low-light performance. Mirrorless cameras are popular choices due to their ability to use interchangeable lenses and control settings like ISO, aperture, and shutter speed. My favorite camera to use is the Sony a7r5.
Wide Angle Lenses: A wide-angle lens with a low aperture (f/2.8 or lower) is essential for capturing the vastness of the night sky and incorporating the unique rock formations of locations like Alabama Hills. Tamron lenses such as the 17-28mm and 20mm provide excellent choices.
Tripod: Stabilizing your camera during long exposure shots is crucial. Opt for a lightweight yet sturdy tripod that can withstand challenging conditions, ensuring sharp and detailed images free from camera shake.
Remote Shutter Release (optional): Minimize vibrations by using a remote shutter release or an intervalometer to trigger your camera without physical contact. This is particularly valuable for long exposures and star trail photography. If you are using a mirrorless camera, use the 2 second or 10 second delay.
Headlamp or Flashlight: Navigating in the darkness necessitates a reliable light source. A headlamp with a red light mode is recommended to preserve night vision while allowing you to manage camera controls and equipment.
Extra Batteries and Memory Cards: Extended astrophotography sessions can drain your camera battery quickly. Carry fully charged spare batteries and ample memory cards to capture every enchanting moment.
Constellation Book or Mobile Apps: Acquaint yourself with the night sky using a star chart or mobile apps that identify stars, constellations, and celestial objects. These tools enhance your understanding and appreciation of the cosmic wonders above. Here are two of our favorite books to learn the night sky:
Night Sky - A Field Guide to the Constellations my personal favorite book to learn the night sky. Easy to use, lightweight (making it easy to take backpacking), and great graphics
National Geographic Backyard Guide to the Night Sky, 2nd Edition is a staple, but it can be hard to use and understand for novice/kids.
Remember, these essentials serve as a foundation; more advanced equipment like filters, telescopes, or portable tracking mounts can further elevate your astrophotography capabilities.


Camera Settings and Techniques
Mastering the art of astrophotography involves more than just having the right equipment. Understanding camera settings and techniques is key to producing stunning celestial images. Here's a step-by-step guide to get you started:
Location and Timing
Choose a location with minimal light pollution, such as Alabama Hills, to ensure a dark and clear sky for optimal results.
Research celestial events, moon phases, and weather conditions to select the best times for stargazing and astrophotography.
Equipment Preparation
Set up your camera on a stable tripod to eliminate camera shake during long exposure shots.
Attach a wide-angle lens with a low aperture to capture a broad field of view and maximize light gathering.
Ensure your camera battery is fully charged and carry spare batteries and memory cards.
Camera Settings
Switch to manual mode to have complete control over camera settings.
Set the ISO to as low of a value as possible (e.g., ISO 600 or 800) to minimize noise in your images.
Choose a wide aperture (e.g., f/2.8 to f/4) to allow more light to reach the sensor.
Experiment with different shutter speeds, starting with 10 to 30 seconds for pinpoint stars or longer durations for captivating star trail photography.
Focus
Switch your lens to manual focus mode.
Utilize the camera's live view and zoom in on a bright star or distant light source.
Adjust the focus ring until the stars appear as sharp points of light, ensuring optimal focus for your shots.
Composition
Incorporate unique foreground elements such as rock formations to add depth and interest to your images.
Experiment with various angles, perspectives, and framing to create visually engaging compositions.
Exposure
Utilize a remote shutter release or timer delay to minimize camera shake when capturing images.
Capture test shots and review results on the camera's LCD screen to fine-tune exposure settings.
Adjust ISO, aperture, and shutter speed as needed to achieve desired exposure and balance between the foreground and the sky.
Review and Refine
Regularly review images on the camera's LCD screen to evaluate focus, exposure, and composition.
Make necessary adjustments to camera settings or composition based on your assessments.
Capture multiple exposures and experiment with various techniques to produce a diverse range of captivating shots.
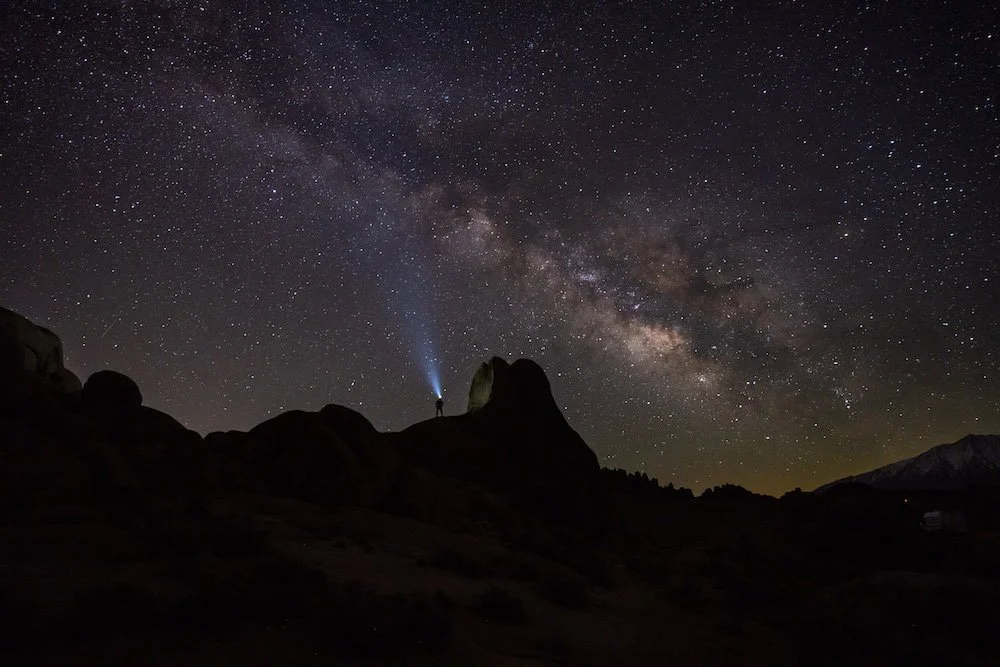
The milkyway high in the night sky. Photo by Dalton Johnson
Astrophotography is an awe-inspiring pursuit that combines technical expertise, creativity, and patience. With the right equipment and a solid grasp of camera settings and techniques, you can unlock the hidden beauty of the night sky.
Each session presents unique challenges and opportunities, allowing you to refine your skills, experiment, and develop your own distinctive style.
As you immerse yourself in the celestial wonders above, remember that practice and persistence are the keys to capturing breathtaking astrophotos that reveal the magic of the cosmos. Whether you're in Alabama Hills or any other celestial hotspot, the night sky awaits your artistic interpretation.